I have been eyeing this DIY marble counter top kit for quite some time now. I finally had some time to get around to doing this and so, so happy that I did!
Things to remember –
This is not going to be perfect. There are several minor imperfections throughout my counters. Some spots the epoxy isn’t even, there are a couple small hairs I misses before the epoxy hardened, but overall it is a million times better than what it was and I could not be happier!
This project does take several days to complete. There is a lot of drying time involved. It can be a pain in the butt to not have the use of your counters for upwards of a week. my kitchen had the appliances pulled out from their spots for a couple days. You just have to make do for the time being.

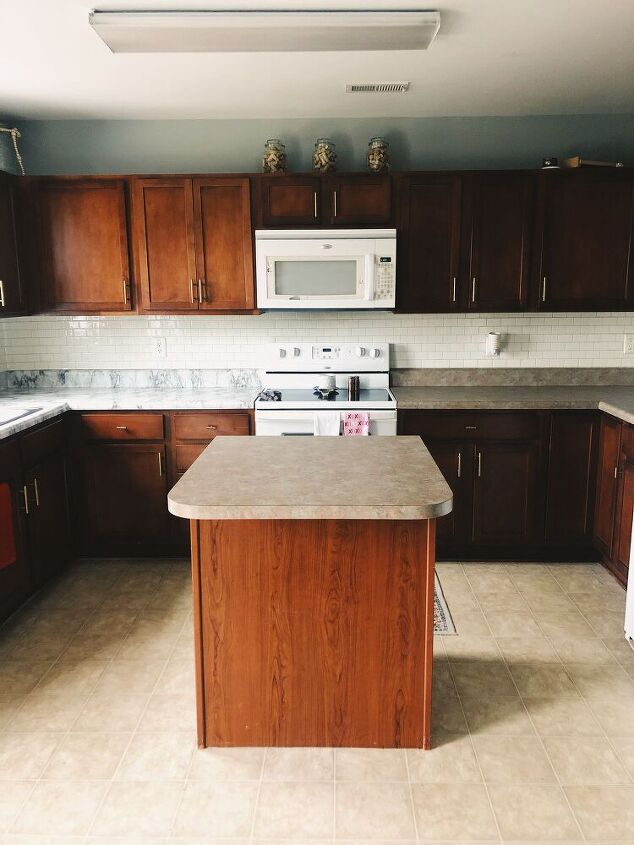
This is the before and before before. The marble part on the left is contact paper I had previously put on my counters as a temporary fix. I did this almost immediately after moving in this home because I could not stand the brown counters. I always knew the contact paper was a temporary solution.

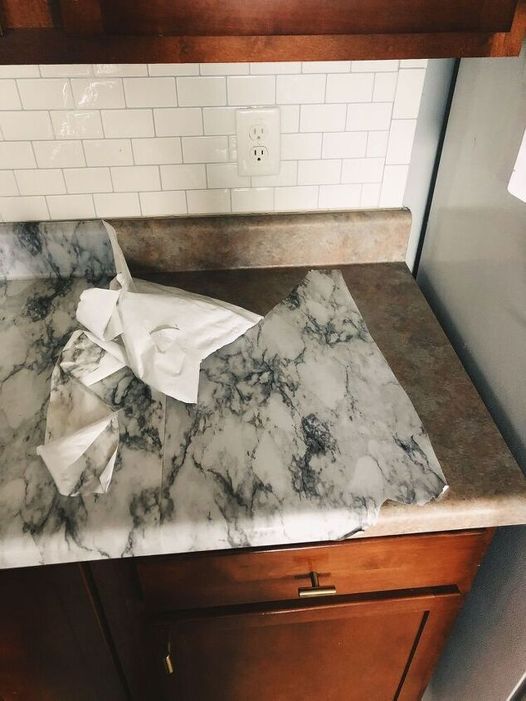
Step One for me was removing the contact paper

